Privacy Notices can be enabled or disabled within the Learning platform to present new users with data privacy information, or other consent statements upon first login. Privacy Notices are helpful for companies that are subject to GDPR or other similar government privacy regulations. If enabled, learners will see active status Privacy Notices on the Front End footer link area of the Learning platform and upon initial login. In this article, learn how to enable or disable Privacy Notices within the Learning platform.
In this article:
Overview
How to Navigate to Privacy Notices
How to Add Privacy Notices
How to Edit Privacy Notices
Overview
Privacy Notices feature can also be used as consent statements for new users signing into the Learning Platform for the first time.
If the “Consent” option is turned on, learners will be required to acknowledge the statement(s) upon initial login. Once accepted, they will not be required to acknowledge the same notice again. If the learner accepts or declines the statements, these actions will appear in the action log report for administrative review. If a learner declines the statement/policy information, they will be unable to log in.
Note:
There are pre-built language options that can be selected. If multiple policy templates are created to accommodate for language differences, the User will see the policy template applicable to your account language pack.
How to Navigate to Privacy Notices
- Within the Learning platform click Administration.
- Click Settings then click Privacy Notices.
How to Add Privacy Notices
- From the Privacy Notices page, click Add Privacy Notice.
- Fill out the following fields:
- Privacy Notice Name: Give the custom privacy notice an easily referenceable name.
- Privacy Notice Text: This is the statement your new users will see upon login.
- Status: Set to Active if you would like to activate it for your users.
- Language
- When you are done, click Save.
How to Edit a Privacy Notice
- From the Privacy Notices page, click the pencil icon for the notice you would like to edit.
- Click Edit.
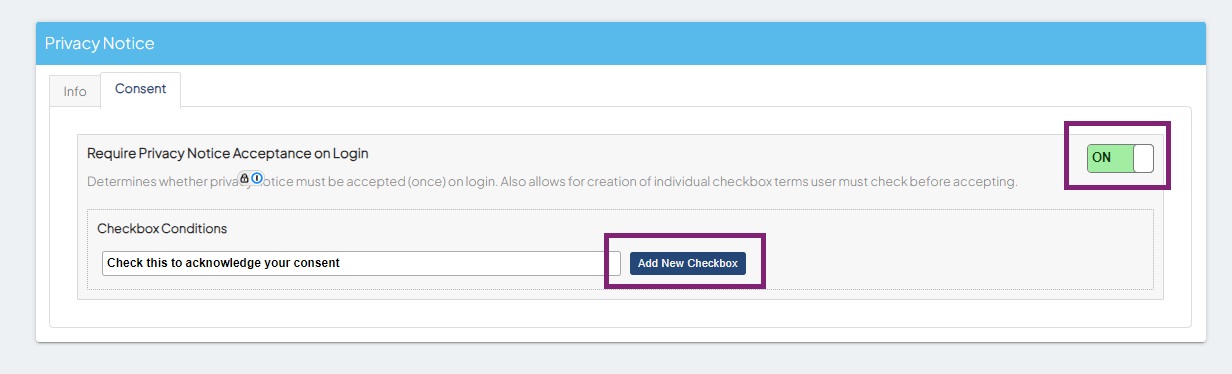
- In order to add or edit Checkbox Conditions (acknowledgements), click the Consent Tab at the top of the modal.
- To add a checkbox condition (the user must check to the box to acknowledge the Privacy Notice), type in the Condition, then click Add New Checkbox. To enable this, click the slider in the upper right corner.
Note:
Checkbox conditions cannot be edited for Active Privacy Notices. In order to change a Checkbox Condition, you must delete the condition and then recreate it.
Comments
Please sign in to leave a comment.